RL Swarm Node Operation Guide — Gensyn
How to participate in Gensyn testnet's RL Swarm training
Gensyn emerged with the vision of democratizing the AI training market, which is currently monopolized by a few central cloud companies. It is an AI model development network that allows anyone to utilize idle GPU resources for AI model training and verifies the accuracy of AI model training through smart contracts.
Gensyn offers the RL Swarm feature, a framework where multiple AI models exchange mutual feedback on training. This unique advantage allows users to go beyond building independent AI models with individual computing resources and leverage collective intelligence between built AI models for training.
Although the mainnet has not yet launched, you can participate in RL Swarm training through the testnet that has been operating since April 2025. As of the writing date of July 24, approximately 12,000 nodes are participating in RL Swarm training on the testnet.
This guide will provide detailed instructions for the entire process of participating in Gensyn testnet's RL Swarm training.
0. System Requirements
Gensyn's required server operation specifications are as follows. Running other applications during training may cause errors.
| Requirement | Details |
|---|---|
| CPU Architecture | arm64, amd64 |
| Recommended RAM | 24 GB |
| CUDA Devices (Recommended) | RTX 3090, RTX 4070, RTX 4090, A100, H100 |
| Python Version | Python >= 3.10 (For Mac, you may need to upgrade) |
1. SSH Connection and Dependency Package Installation
1.1. Connect to SSH terminal (in this guide, we use Git Bash).

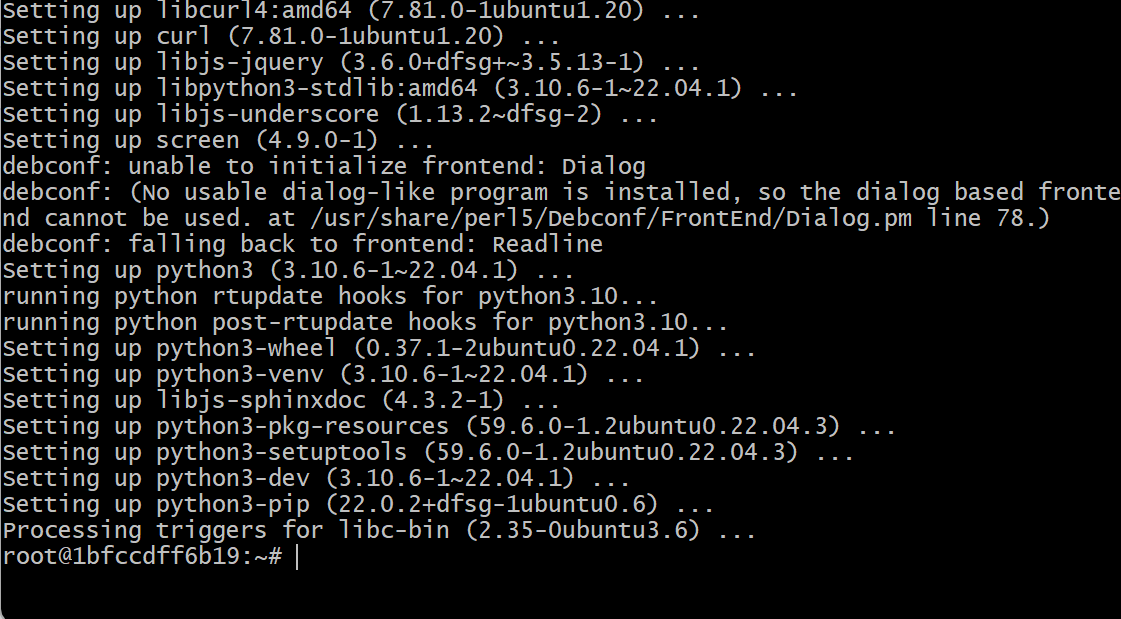
1.2. To install Sudo (a tool that allows executing specific commands with administrator privileges) and other dependency tools needed for node operation, execute the following commands (copy & paste, then press Enter):
apt update && apt install -y sudo
sudo apt update && sudo apt install -y python3 python3-venv python3-pip curl wget screen git lsof nano unzip iproute2 build-essential gcc g++
apt install nodejs npm
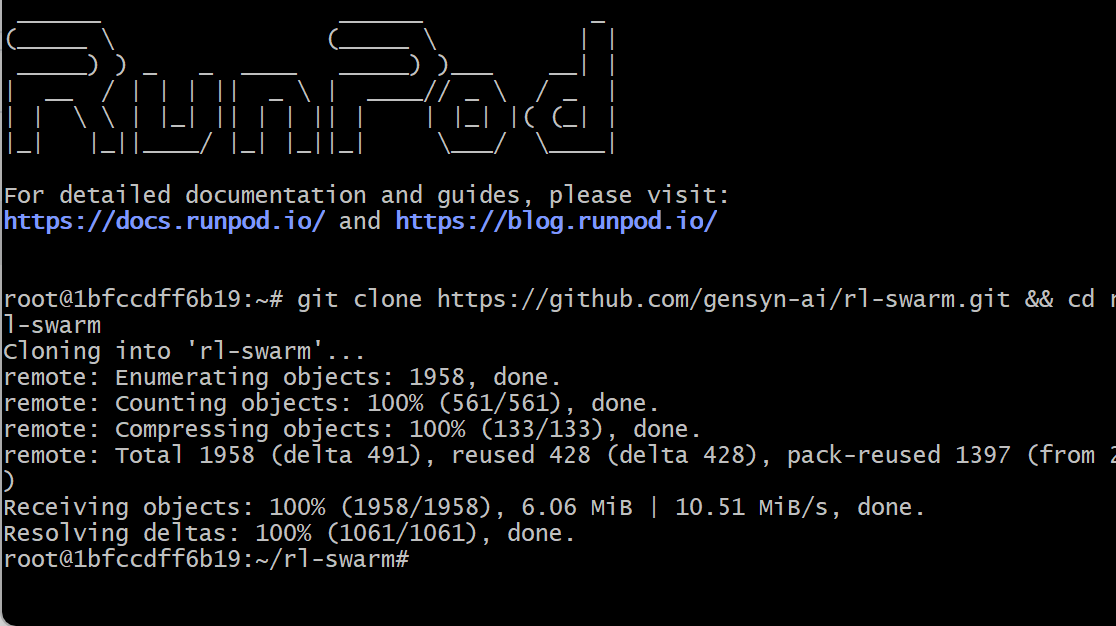
1.3. To create a Gensyn session (virtual workspace) and clone the official repository, execute the following commands:
screen -S gensyn
git clone https://github.com/gensyn-ai/rl-swarm.git && cd rl-swarm
2. Setting Up Swarm Execution Environment
2.1. To participate in the Swarm, execute the following commands in Git Bash and wait until the "waiting for ~" message appears:
python3 -m venv .venv
. .venv/bin/activate
./run_rl_swarm.sh
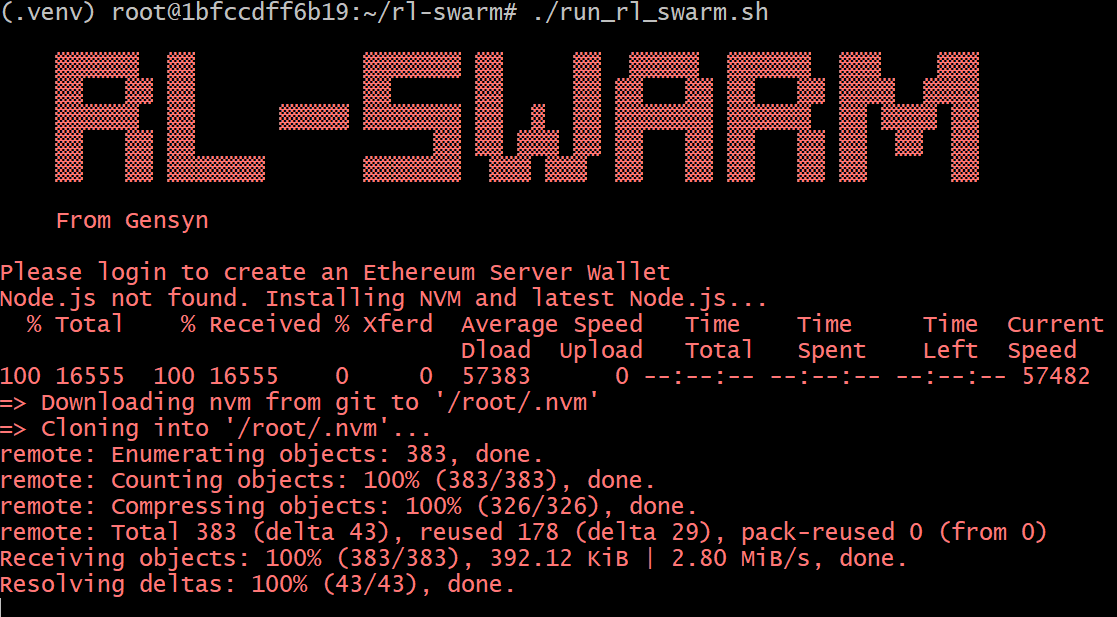

2.2. If the message is successfully displayed as shown in the image above, press Ctrl + A + D, then execute the following commands:
npm install -g npm@latest
npm install -g localtunnel
lt --port 3000
3. Protocol Account Creation and Login
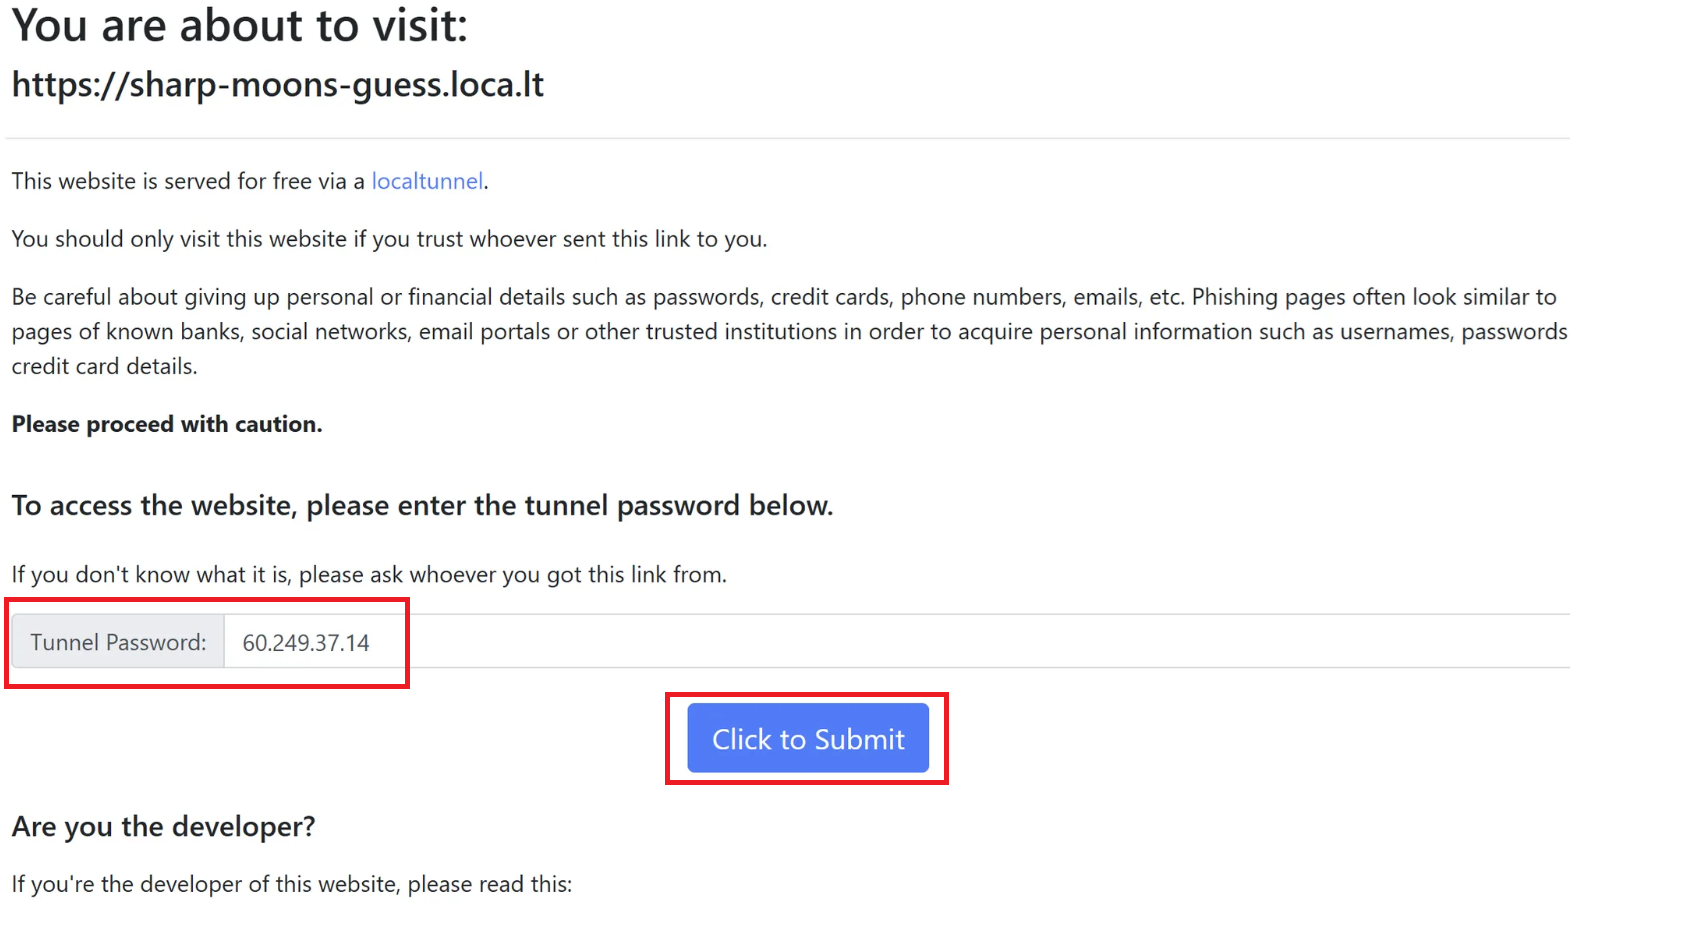
3.1. Once the Swarm execution environment is successfully built, a URL will be displayed as shown in the image below. Enter this URL in your browser to access the login page.

3.2. In the Tunnel Password field, enter your server's VPS IP and click the Click to Submit button.
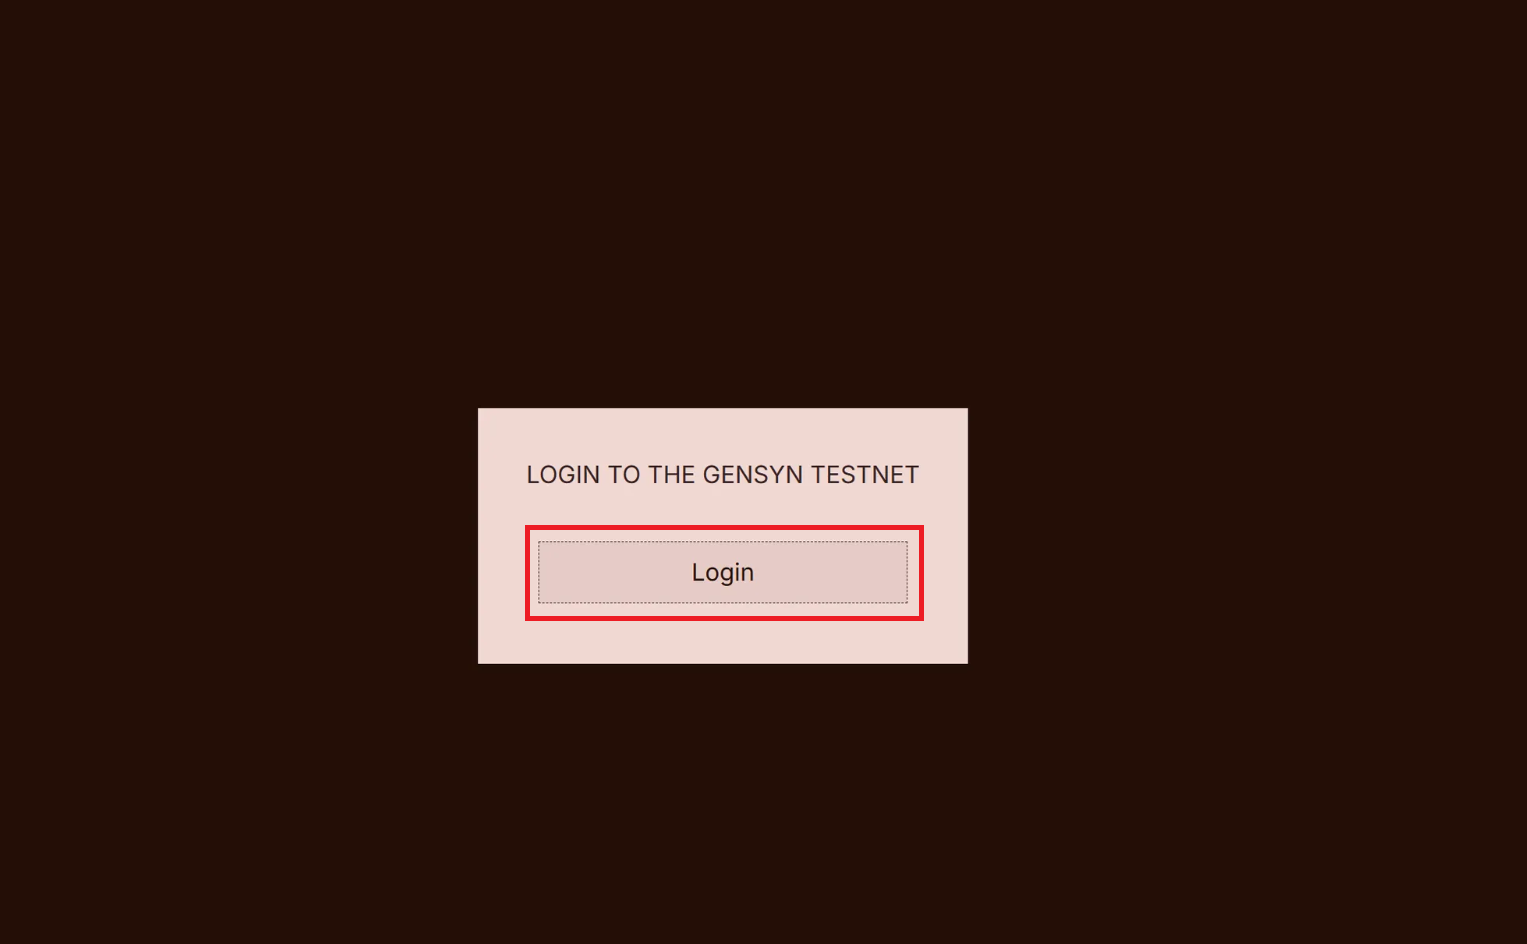
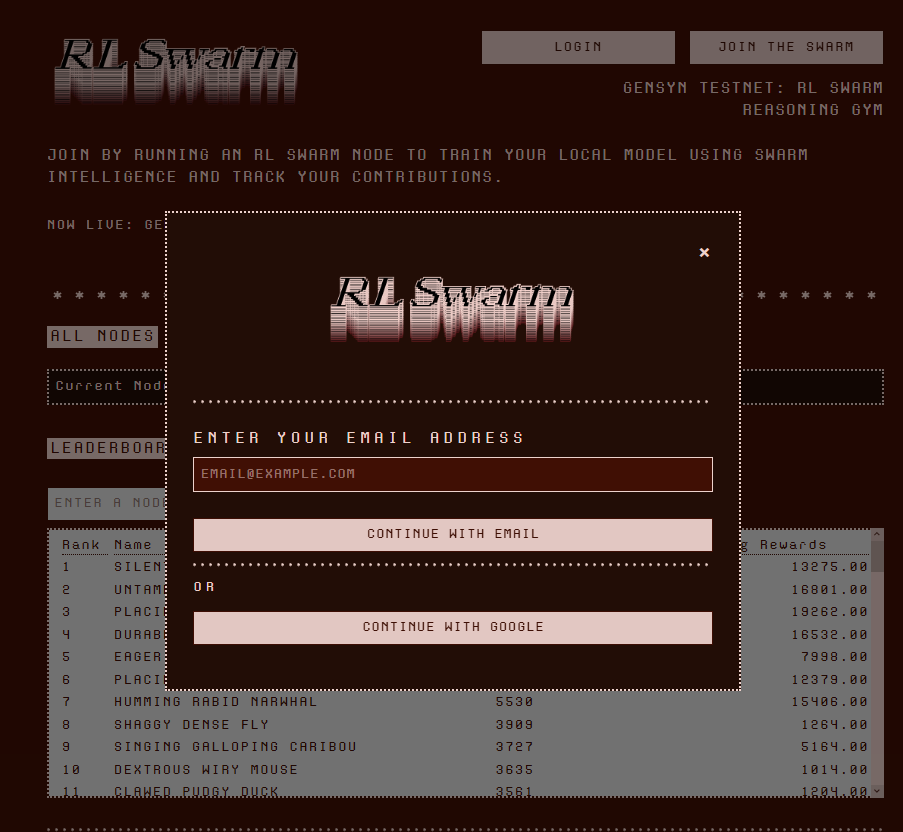
3.3. On the page that appears after executing the above process, click the Login button.
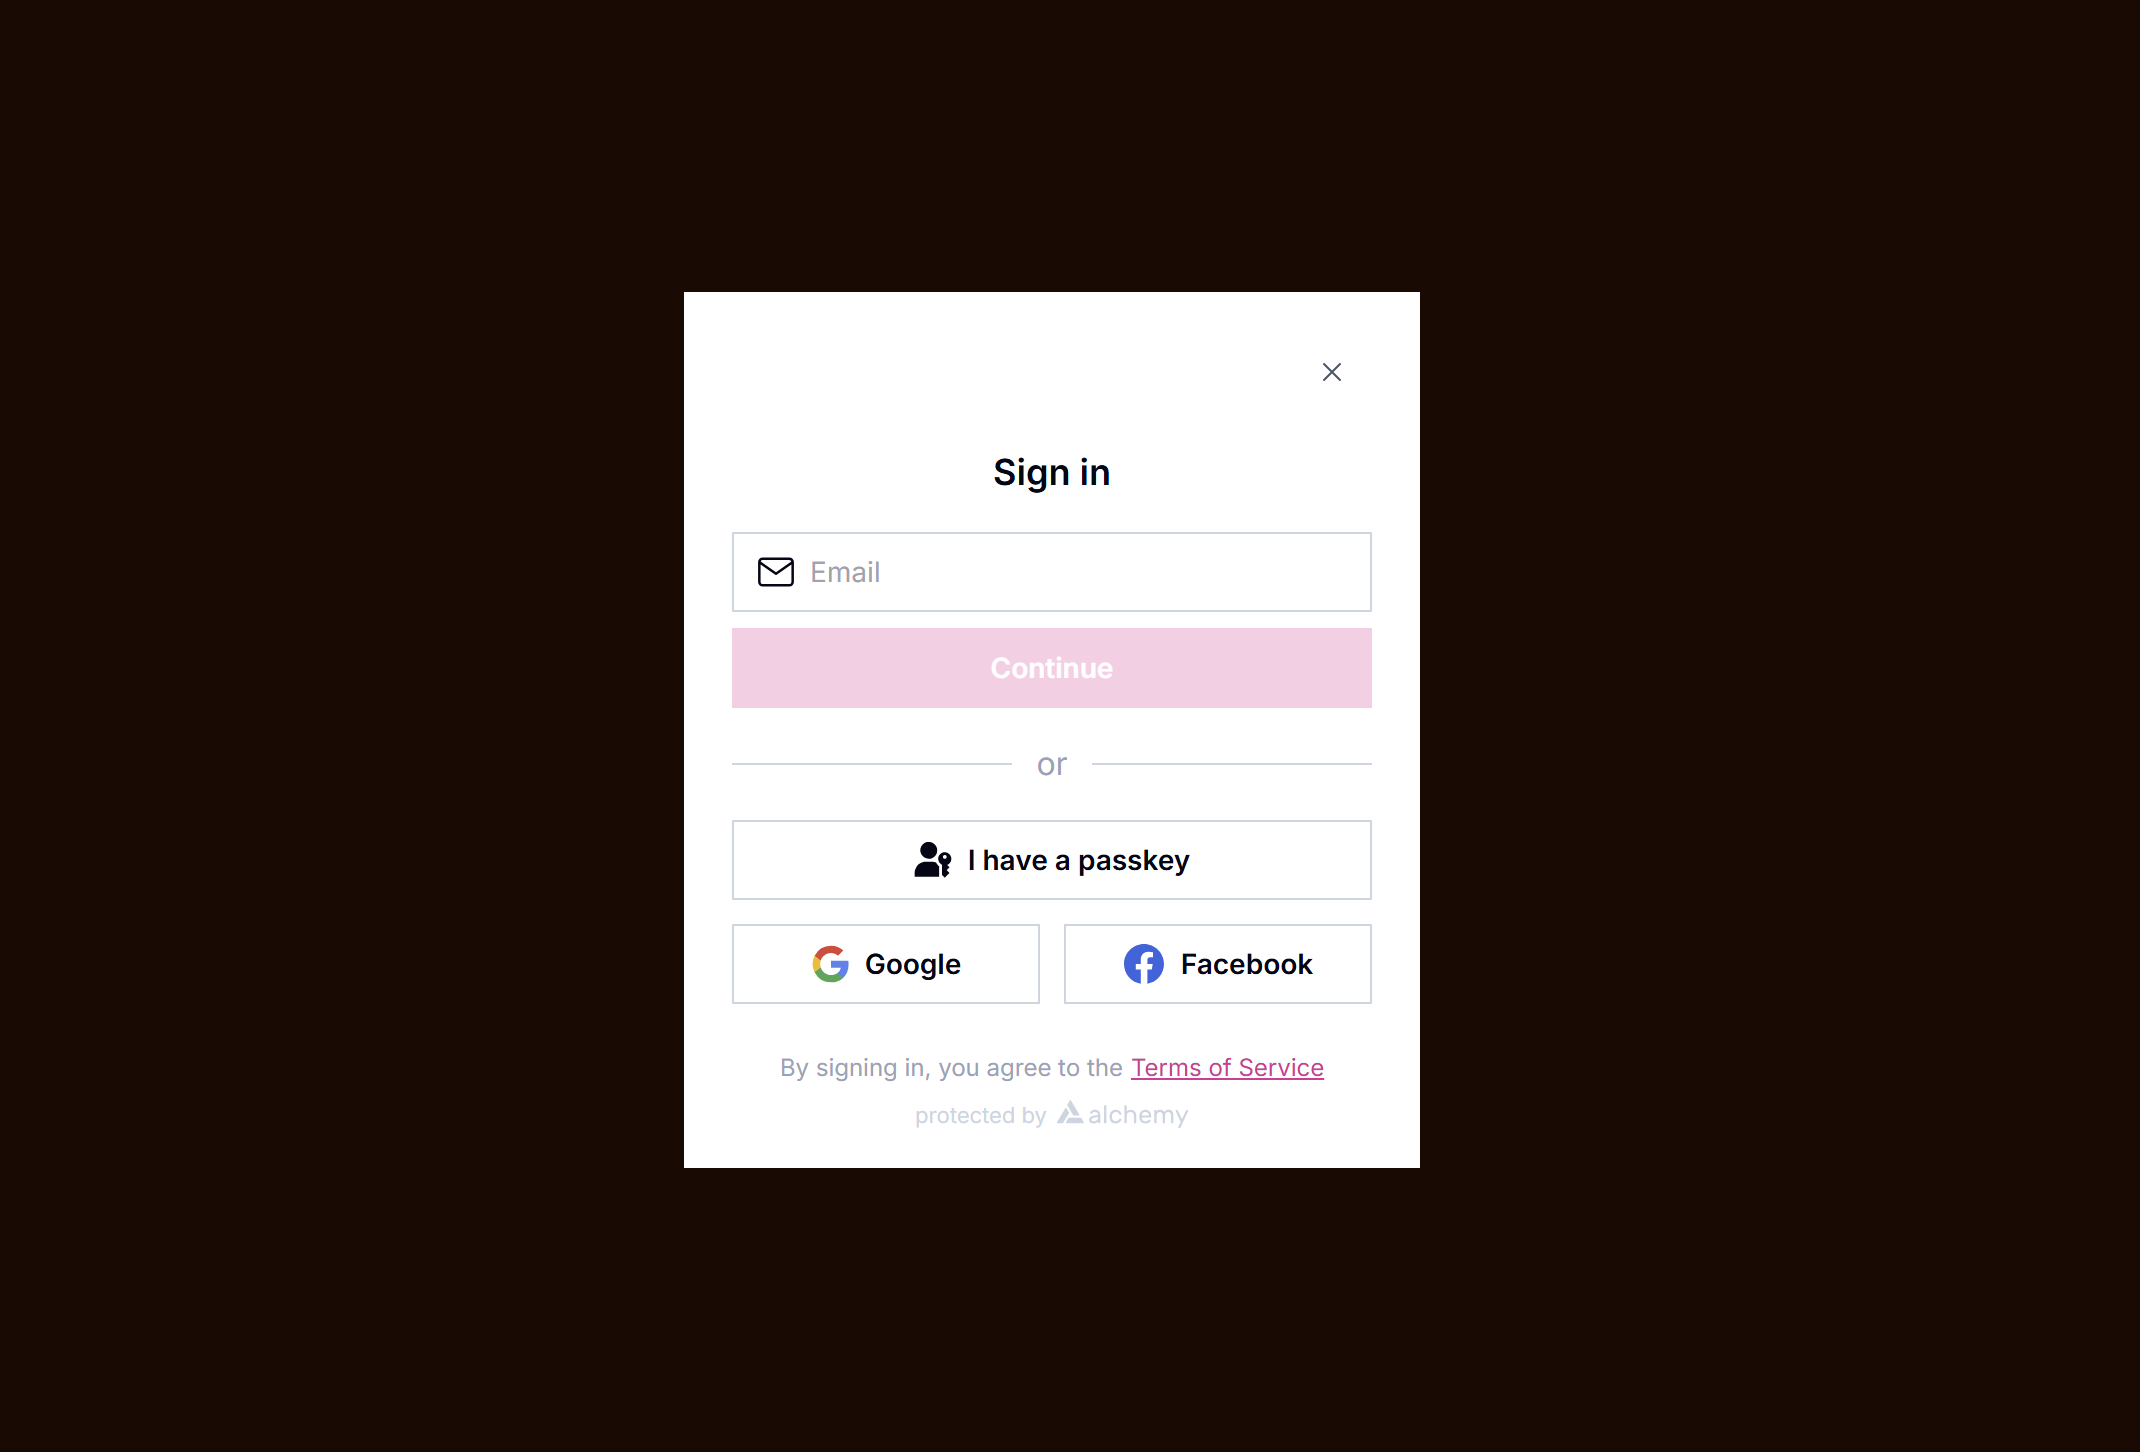
3.4. Select a login method and proceed with login.
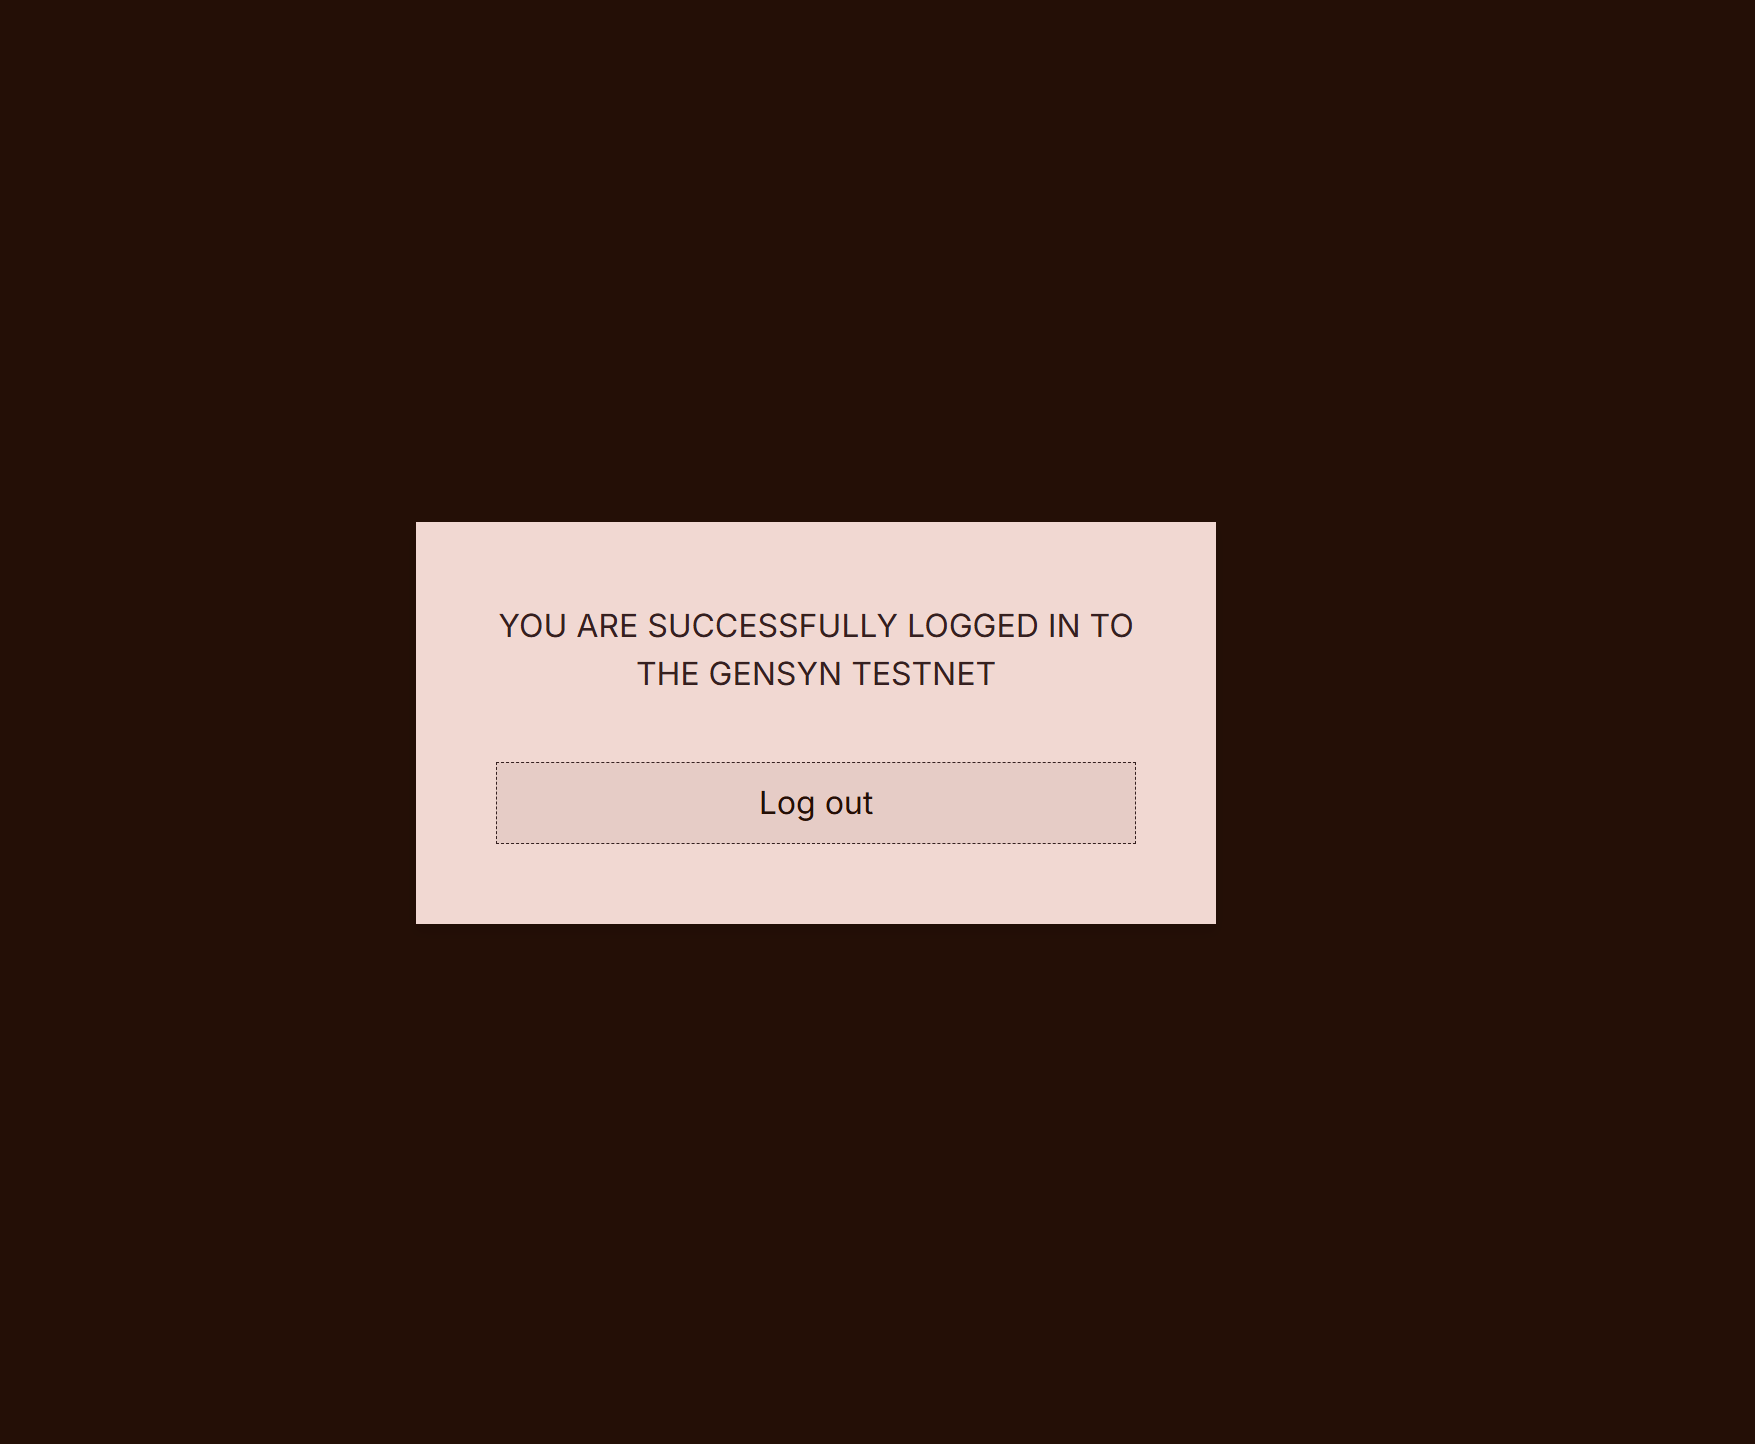
3.5. Once Login is completed as shown below, return to the terminal where you executed the Gensyn session.
4. Finalizing Swarm Execution Environment Setup
4.1. Once Login is completed, press Ctrl + C, then execute the following command to check the list of active sessions:
screen -ls
4.2. Enter screen -r [session number] and press Enter to switch to the Gensyn session.
For example, if the result from screen -ls above is '1183.gensyn', enter 'screen -r 1183'. If there are multiple sessions, you can switch to each session using their respective session numbers.
screen -r [session number]

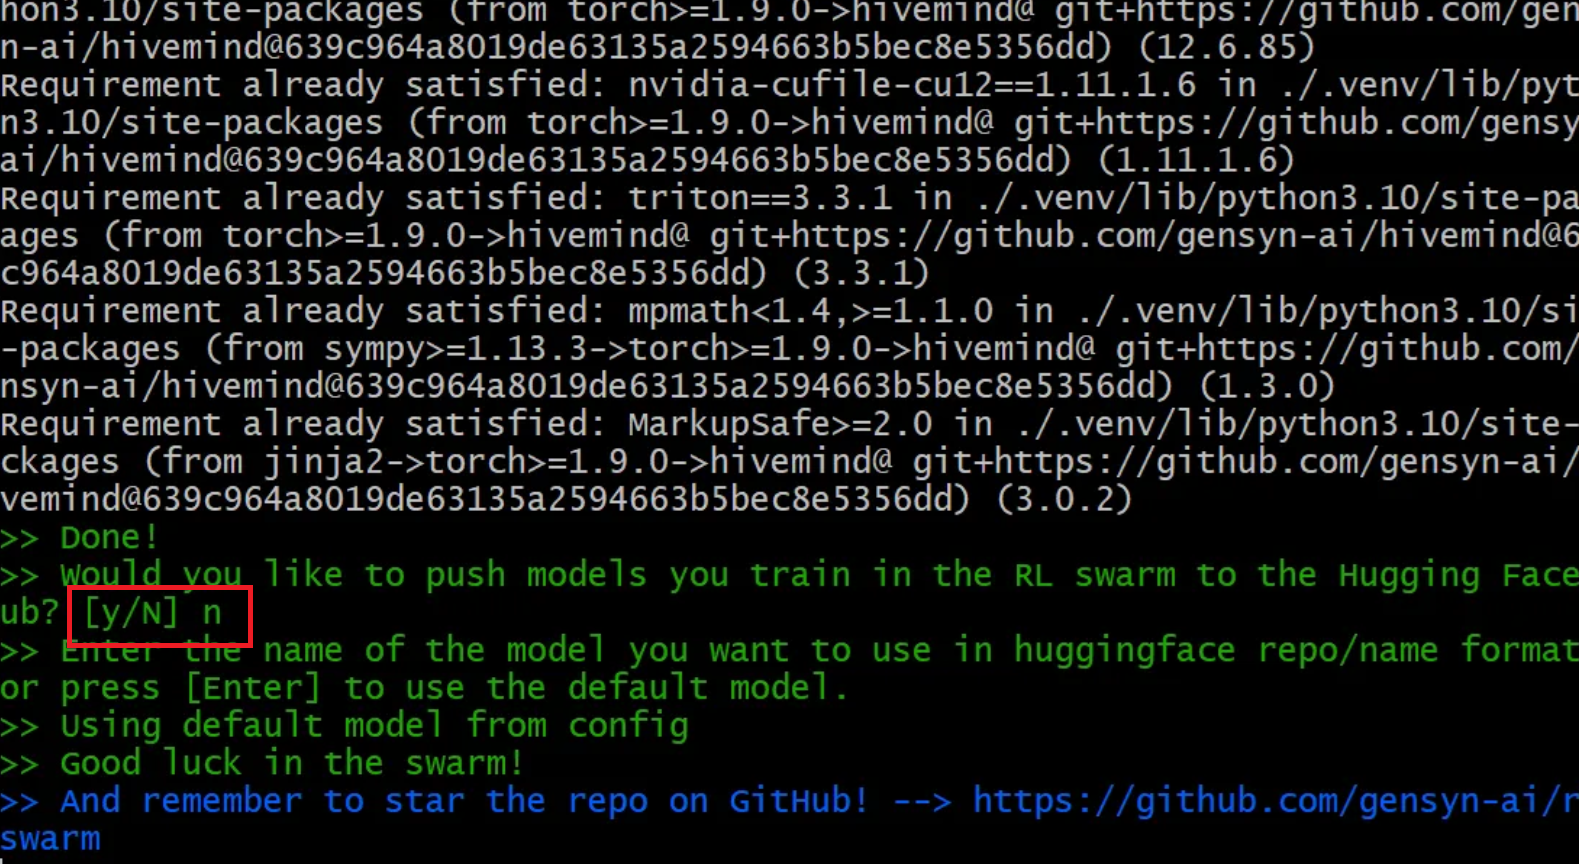
4.3. After execution, wait until results like the image below appear in the gensyn session, then enter 'n' for the Hugging Face option and press Enter twice.
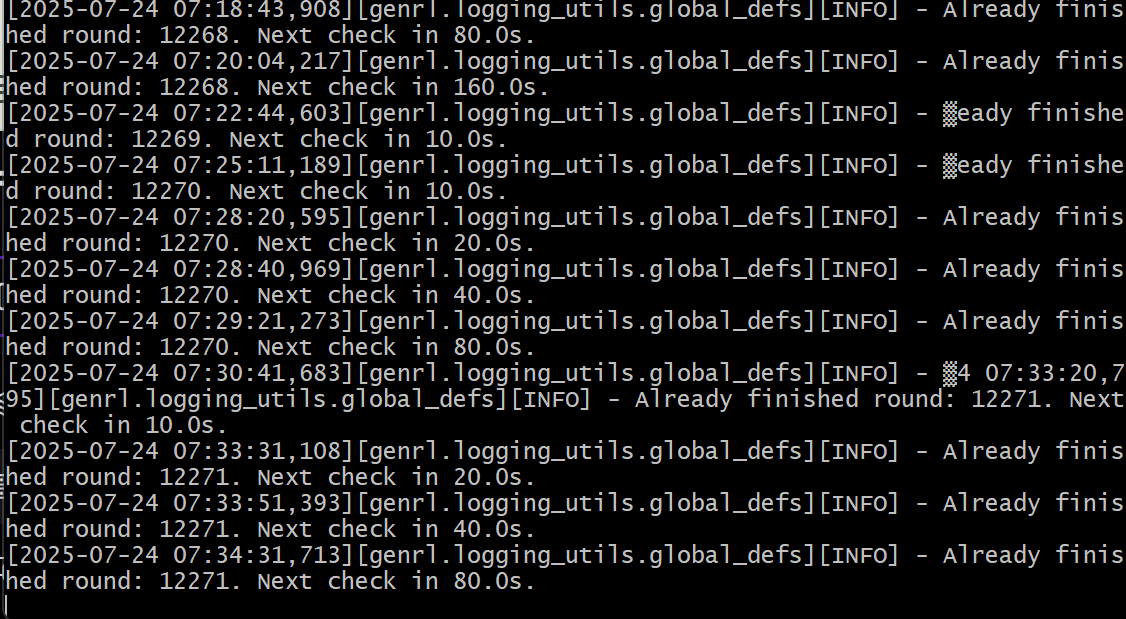
4.4. The image below shows the terminal state when Swarm is running successfully.
5. Downloading swarm.pem File
5.1. Press Ctrl + A + D, then execute the following command to send the current session to the background and obtain links to download files needed for account identification:
[ -f backup.sh ] && rm backup.sh; curl -sSL -O https://raw.githubusercontent.com/zunxbt/gensyn-testnet/main/backup.sh && chmod +x backup.sh && ./backup.sh
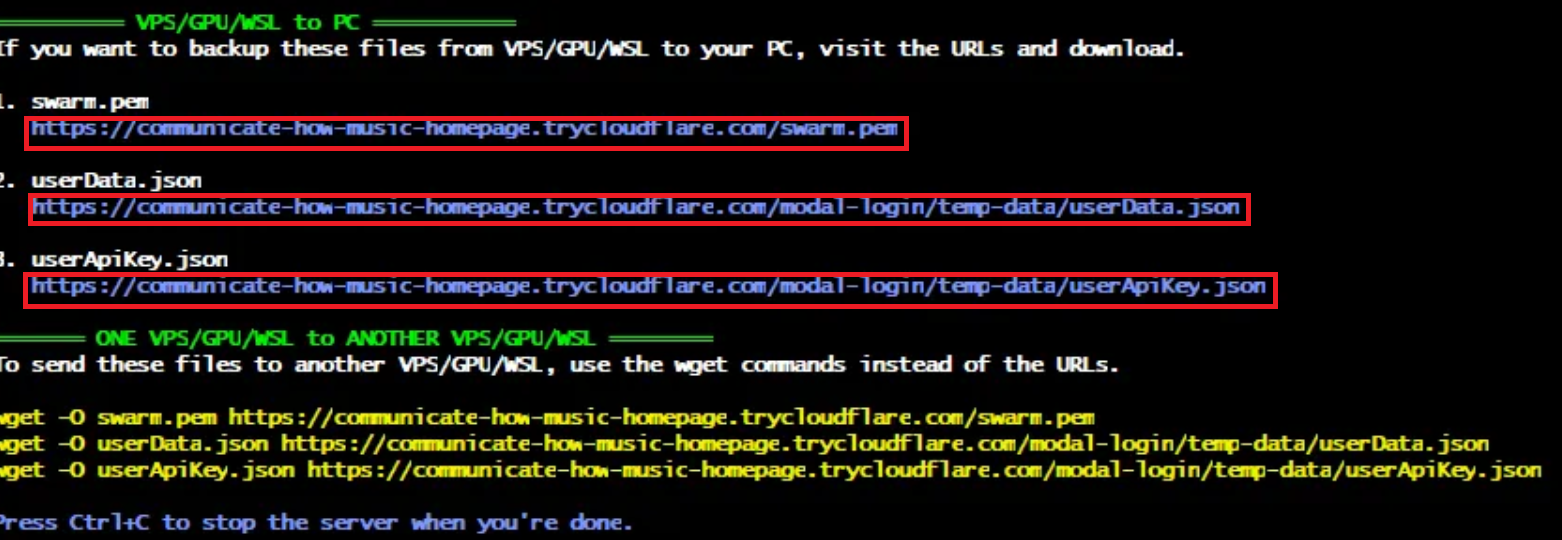
5.2. Enter all these links in your browser to download the files.
Especially for the swarm.pem file, you must download it as (email, pem) functions as the node identifier.
6. Checking Your Node Status
6.1. Access the Gensyn Official Dashboard.

6.2. Click the Login button in the upper right corner and log in using the email you used in step 3 (Protocol Account Creation and Login).
6.3. You can check the running node information in the Your Nodes status window.
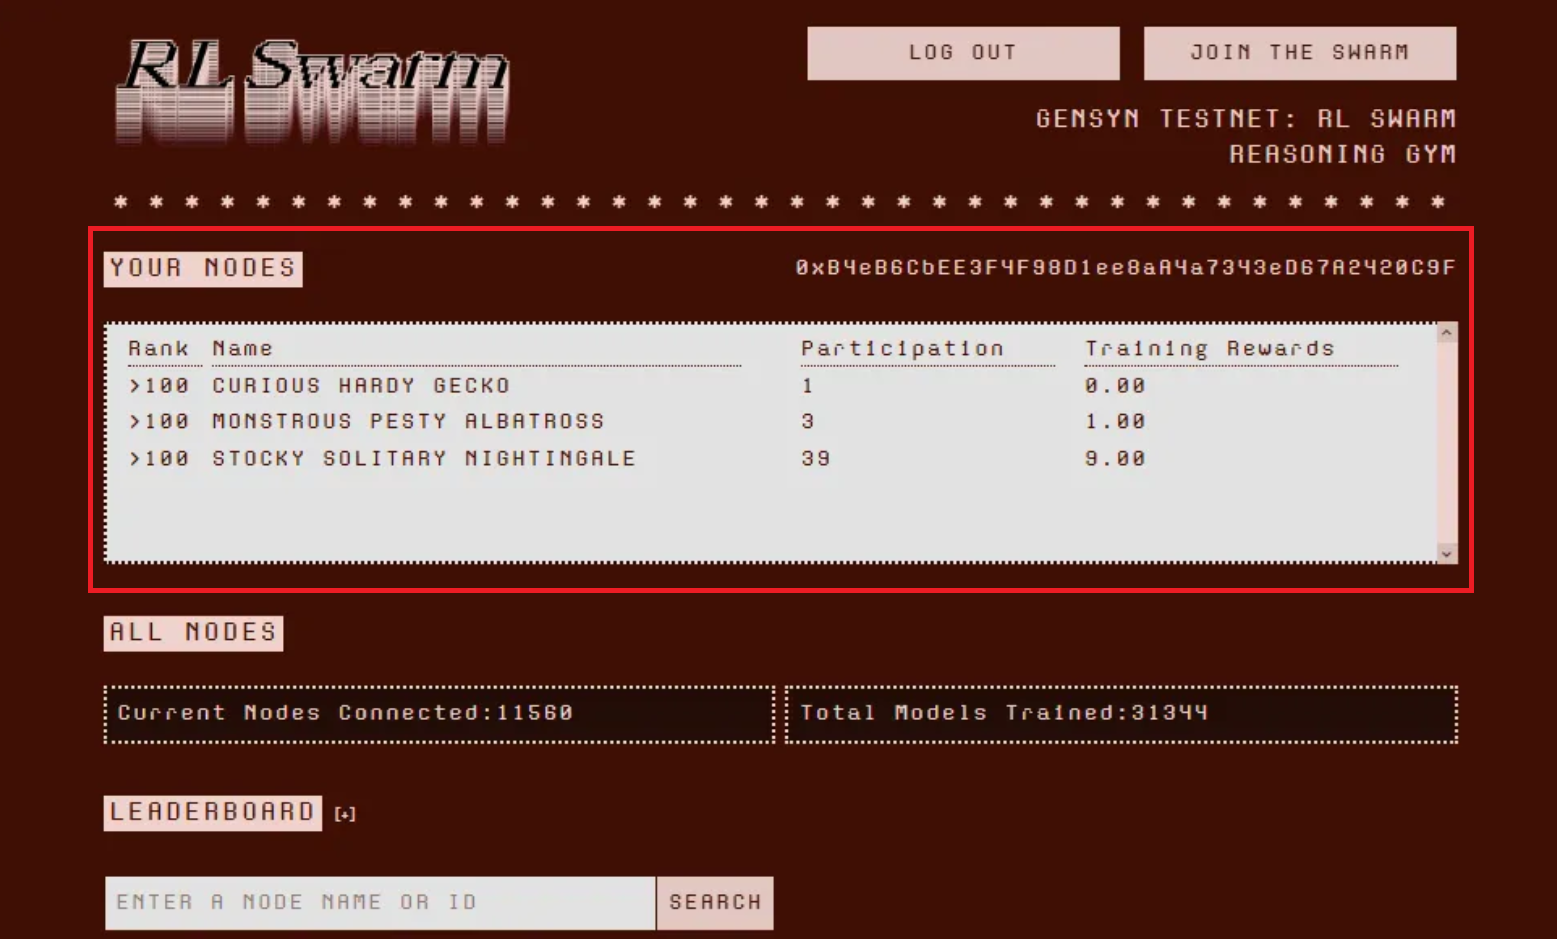
- Participation: Total number of rounds participated in
- Training Rewards: Total sum of points earned by participating in each round
- Gensyn Official Website: https://www.gensyn.ai/
- Gensyn Docs: https://docs.gensyn.ai/
- Gensyn Twitter: https://x.com/gensynai
- Gensyn Discord: https://discord.com/invite/gensyn